Recently, I was having a hard time keeping up with dozens of new emails every day. Out of which, most were not time-sensitive, but they made me skip some important emails. To deal with this issue, I simply created a few labels (aka folders) in Gmail and filtered less important incoming emails to those labels. Now I have a clean inbox with only important messages, and I can check on less important ones by simply visiting those labels. Let’s see how you can also send certain emails to a folder in Gmail and organize your inbox.
Create a new label (folder) in Gmail
To get started, you’ll first need to create a label in Gmail where the particular emails will be sent. Here’s how to create a new label:
Click on the “More” button in the Gmail left panel and then click on “Create new label”.
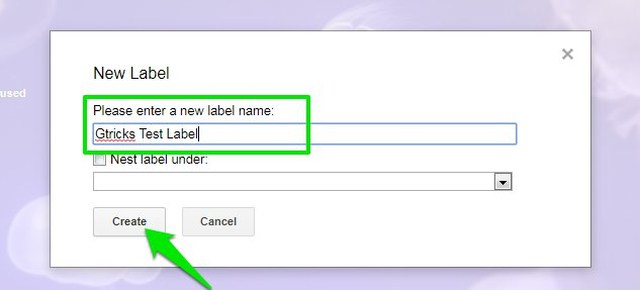
Now enter the name of the label in the first text box and click on “Create”. Make sure you enter a relevant name that matches the type of emails that will go there.
The label will be created and listed in the left panel under the Categories. You can repeat this process to create as many labels as you need.
Filter emails to a folder in Gmail
Once the folder is ready, it’s time to create a filter to automatically send emails to that folder. Before creating a filter, you first need to set up filter criteria using the Gmail search option. Although you can use Gmail search operators to create criteria, using the advanced search options form is much easier. To access it, click on the upside-down arrow icon at the end of the Gmail search bar. Some editable fields will open up where you can set up the search criteria. You need to fill out this form according to your need, but to make things easier, I am explaining what information each field requires.
From: Here you can enter the email address of one or more people of whom the emails you want to filter. If you don’t want to filter emails from specific people, then leave this field empty. To: This field is only useful for incoming messages if you have merged multiple emails account and want to filter their emails separately. If that’s not the case, then leave it empty. Subject: Here you can add keywords that could appear in the subject field of the emails you want to send to the folder. To add multiple keywords, you’ll have to separate them using a vertical bar (|). For example, “Free|review|checkout”. Has the words: You can list keywords here that could appear anywhere inside the email you want to filter. Again, you’ll have to use a vertical bar (|) to separate multiple keywords. Doesn’t have: You can use this field to add words that should not be filtered even if the above fields match the criteria. You particularly want to use this field to protect important emails from being filtered. Now that you know what each field requires, you should have no problem setting up the filter criteria. Just remember that you don’t have to fill all the fields, only fill the ones that are enough to filter the required emails. After filling out the search form, click on the “Create filter with this search” button at the bottom-right corner.
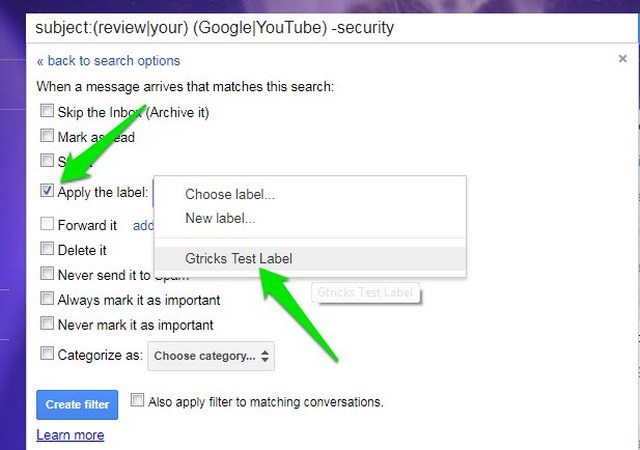
Here check the checkbox next to the “Skip the Inbox” and “Apply the label” options, and then choose the label from the drop-down menu next to it.
Afterward, check the checkbox next to “Also apply filter to matching conversations”, and then, click on “Create filter” button to create the filter.
Now all your existing emails and new emails matching the filter criteria will automatically go to the folder (label) you assigned.
Ending words
Apart from helping me organize my inbox, I also find this trick handy for saving interesting content in Gmail and automatically organizing it under labels. For example, you can create a label for interesting articles and whenever you find an interesting article worth reading later, simply email it to yourself with the matching filters and it will be saved in the label. Let us know in the comments if you know of any other interesting way to organize emails in Gmail.