Thankfully, you can add custom page breaks right from the printing options. In today’s post, I’ll show you how to add custom page breaks in Google Sheets and manage them.
Insert page break in Google Sheets
Below are the steps to insert and manage page breaks: Open the sheet you need to print in Google Sheets and make sure all the data is inserted because the print option will open filled rows and columns from start to end. Now click on the “File” menu at the top-left corner and select the “Print” option from it. You can also press the “Ctrl+P” keyboard shortcut to directly open the print option.
Once open, click on the “SET CUSTOM PAGE BREAKS” option in the right panel.
Depending on data size, page breaks will already be added that you can see as blue dotted lines.
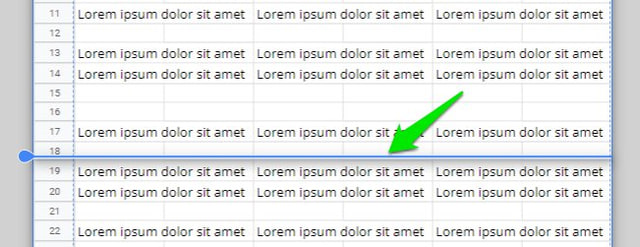
To create custom page breaks, hover over the dotted line and it will turn into a thick blue line. Afterward, hold the click and move the page break however you like.
If you need more page breaks for your data, then move to the very end of the sheet and hover the cursor at the very bottom. A blue line will show up that you can grab with the click and move wherever you like. You can repeat the process to add as many page breaks as you like.
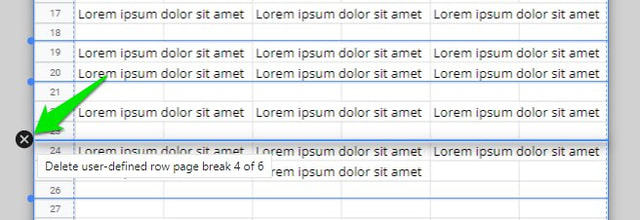
If you need to remove a page break, hover the cursor over the blue dot at the start of the line and it will turn into a cross button. Click on this button to remove it.
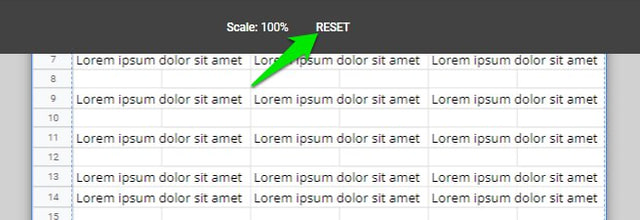
You can also just delete all the changes you have made by clicking on the “RESET” button at the top and start over.
When you are done adding page breaks, click on the “CONFIRM BREAKS” button at the top-right corner to apply them. You can then edit printing options as you like and print the sheet.
Ending words
Knowing how to add custom page breaks in Google Sheets will help you divide data properly on printed pages. This is especially important when you need to create an extensive report where the proper sequence of data is necessary so anyone could easily go through it. If you have any questions, let us know in the comments below.


