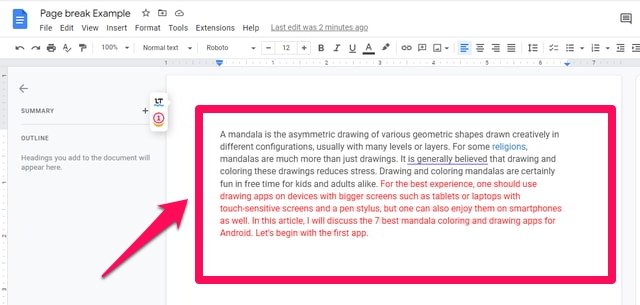
In this article, I will explain step by step how you can add and remove the Page break in Google Docs using both a PC and an Android device. For this purpose, I am using a sample text from one of our earlier articles on gtricks.com. The text that I am going to move to the next new page in Google Docs is highlighted in the red color font as shown in the reference figure. So let’s get started using the PC first.
Add/remove Page break in Google Docs on a PC
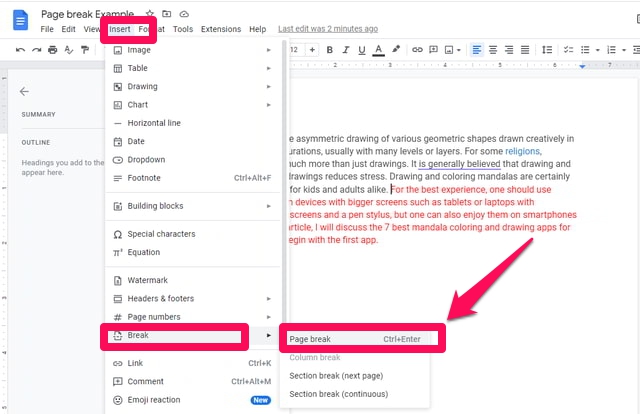
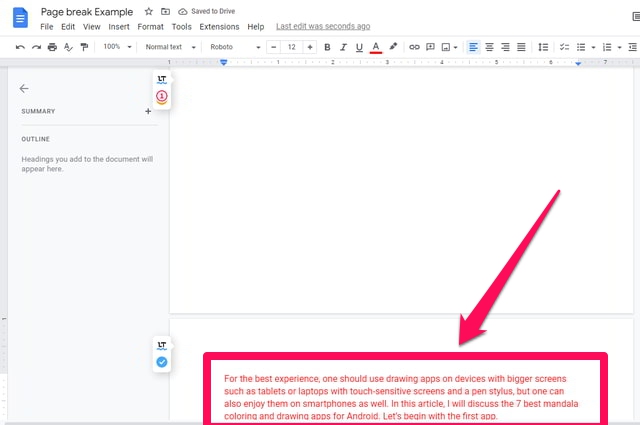
Adding a Page break in Google Docs from a PC is pretty straightforward and can be accomplished in a few easy steps as shown below: Step 1: Open the document to which you want to add/remove Page break and place your cursor just before the beginning of the text that you want to move to the next page using the Page break or at the end of the text if you just want to transfer the control only. Step 2: Click on the “Insert Menu”, then point your pointer to the “Break” option and then click on the “Page break” option in the extended menu or just press the “Ctrl + Enter” keys on your keyboard. You will notice that Google Docs has created a new page and transferred the text after the cursor on the previous page to this new page.
Step 3: To remove the Page break, if inserting a Page break was your last operation, then just use the shortcut “Ctrl + Z” to undo this operation. Else, place your cursor at the start of the page and press the “Backspace” key on your keyboard. The Page break will be removed, merging the new page with the old one.
Add/remove the Page break in Google Docs on Android
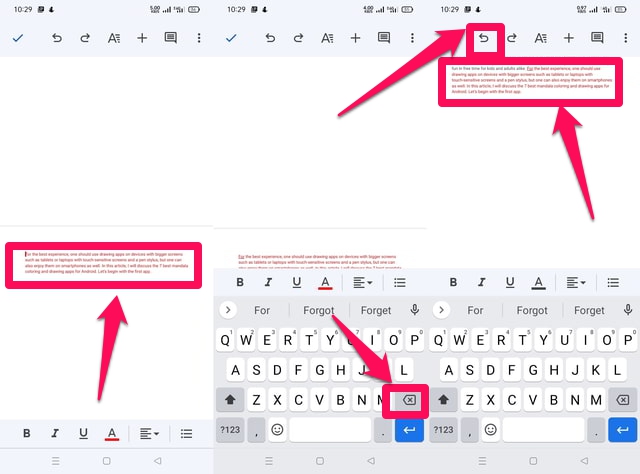
Since the Google Docs app for Android is designed for mobile devices, its menus, and look and feel are quite different from the PC version. To work with Google Docs on your Android smartphone, you will need the Google Docs app for Android. Just follow the following steps to see it in action. Step 1: First install the Google Docs app on your smartphone from Google Play Store if you don’t have it already. Step 2: Open the required document and place your cursor by tapping just before the beginning of the text that you want to move to the next page. Step 3: Next, tap on the big blue “+” sign in the top-right corner. This will cause an “Insert” menu to appear at the bottom of the screen. Step 4: Scroll down in the “Insert” menu and find and tap on the “Page break” option. That’s it, you will notice that a page break has transferred the text from the cursor insertion point onwards to the next new page.
Step 5: To remove this Page break, either undo this operation by tapping on the reverse arrow undo button at the top left of the screen. Or place your cursor immediately at the beginning of the new page and tap on the delete key from your onscreen keyboard. You will notice that the Page break has been deleted and that the text has returned to its original form.
Wrapping up
Using “Page break” in Google Docs will save you pressing the “Enter” key several times to transfer the text after the current cursor’s position or just the control to the next new page. Although it can be used both in the PC version and Android app version, the mechanism is a bit different and is explained step by step in this article.