In today’s post, I’ll show you how to do a hanging indent on Google Docs desktop app.
Make a hanging indent on Google Docs
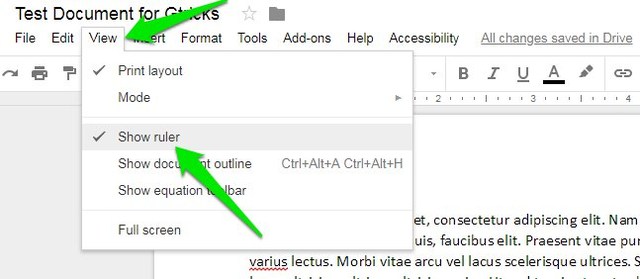
To make the hanging indent, we will be using the ruler located at the top of the page in Google Docs. Although it’s always visible by default, but to confirm, you can go to the “View” menu and ensure “Show ruler” is enabled.
On the ruler, there are two sliders, with one being a rectangle and the other triangle. The rectangle slider controls the first line indent and the triangle control the left indent of the selected paragraphs. We’ll be using these sliders to create the hanging indent.
Follow the below instructions to make a hanging indent on Google Docs:
Select the paragraphs you would like to indent (multiple can be selected).
Now click and hold on the indent slider (triangle) on the ruler and drag it to the right side as much as you need. The rectangular slider will move along as well.
Afterward, click and hold on the rectangular slider and move it back to the initial point.
There you go, all the selected paragraphs will now be hanging indent. Alternatively, you can also use the “Increase indent” button in the Google Docs toolbar to increase the indent of the select paragraphs. However, you’ll still need to use the ruler to move back the rectangular slider to make a hanging indent.